Textured coating, or gotelé, remains present in a large portion of Spanish flats built between the nineteen-seventies and nineties, and it is common to appear as the first task pending when renovating. Before calling a professional or picking up a scraper, it is worth understanding what type of gotelé is on the walls, which technique applies to each case, and what to expect from the final budget.
Why textured coating still covers so many Spanish walls
A finish created to save time and money
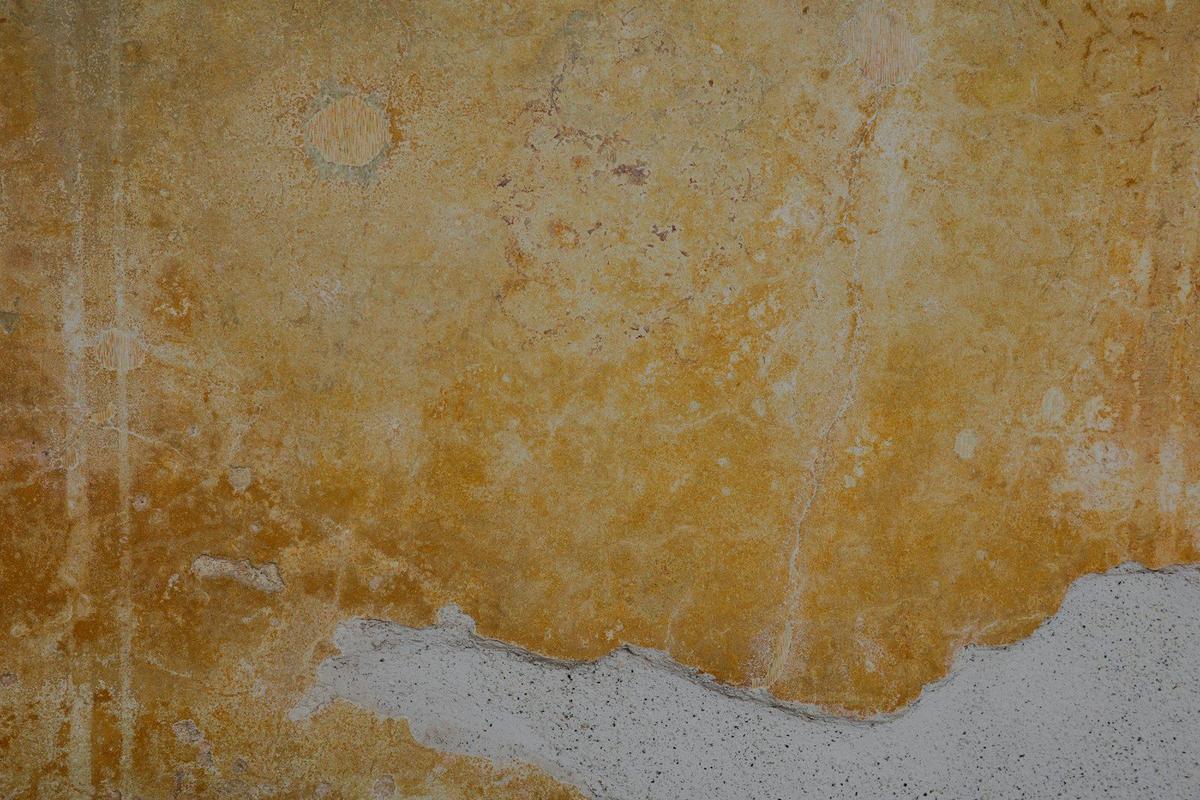
Gotelé, or sprayed textured coating, spread across Spain during the real-estate boom of the mid-twentieth century as a quick and cheap solution to hide imperfections in plaster. It became the most popular decorative finish in Spain for decades, dominating walls and ceilings of millions of homes from the nineteen-sixties until the end of the twentieth century, characterised by its rough and granulated surface.1 Today, however, interior design trends have shifted completely.
From symbol of modernity to the first thing to remove
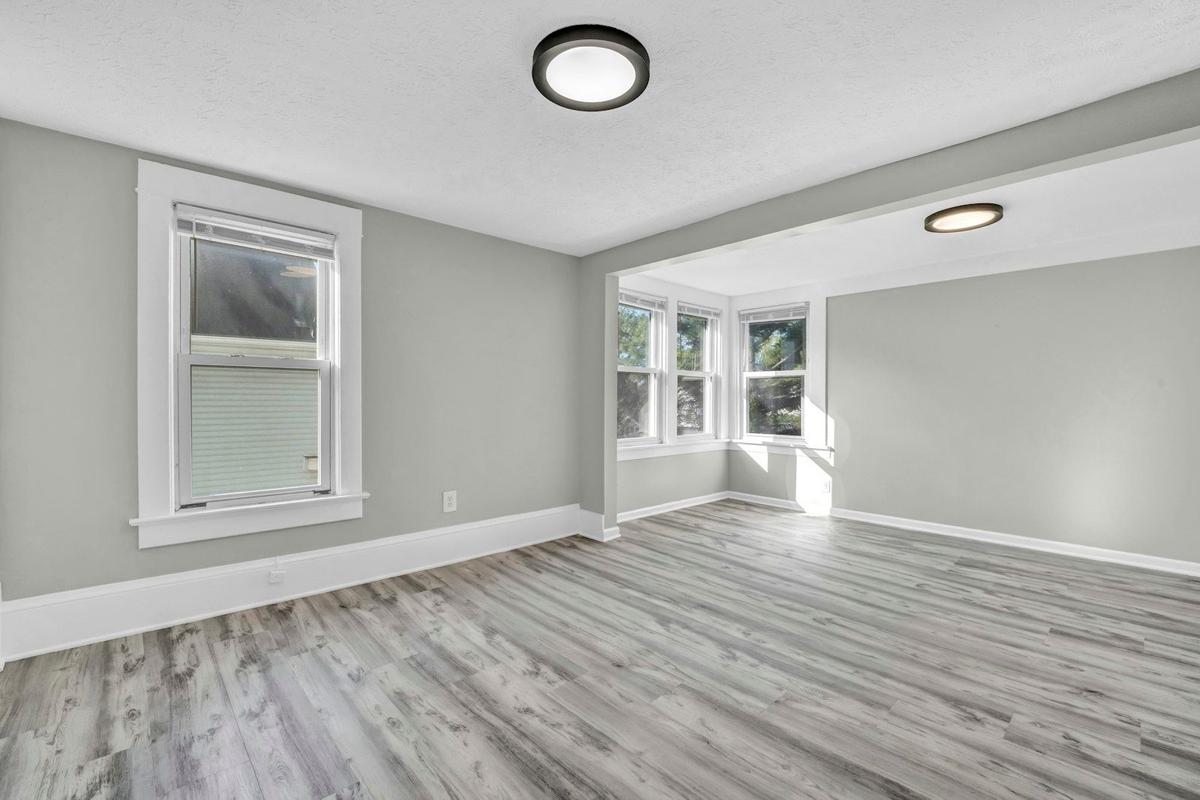
What once represented an up-to-date home is now seen as the opposite. Current trends favour smooth walls, uniform colours, and visually cleaner spaces, so textured coating has gone from being practically mandatory to becoming one of the first elements many owners want to eliminate when renovating a home. This is especially noticeable in renovations of flats in Madrid, Barcelona or Valencia, where buying an older property usually goes hand in hand with leaving the walls smooth before painting.
Identifying the type of textured coating before starting
Not all textured coatings behave the same way, and this completely changes the work strategy.
Water-based textured coating: the easiest to remove
This type was applied mainly in older homes and is recognised because it reacts to contact with water. There are two types of textured coating depending on the material used to make it: plastic paint textured coating and water-based textured coating. The latter is of very low quality, like everything made with water-based paint; if a damp cloth is rubbed over it, most of it will come off. This is why it can be dampened and scraped without much trouble.
Plastic textured coating: water-resistant and requires different treatment
Plastic textured coating behaves the opposite way: it does not dissolve and keeps its texture even when wet. Plastic paint textured coating involves the use of latex or acrylic-based paint, much easier to apply, and also more resistant, thicker and less prone to peeling over time. In this case, dampening and scraping does not help much: the usual approach is to sand the peaks with dust extraction or cover it with smoothing compound.
The simple home test that settles the question
Before deciding on any method, it is worth doing a simple check in a discrete area:
- Dampen a small piece of wall with a sponge and wait a few minutes.
- If the texture softens or comes away, it is water-based textured coating.
- If it does not react, it is probably plastic.
- Alternatively, a sample can be scraped and placed in a glass of water: if the material breaks down or clouds the water, it is usually water-based; if it barely reacts and the particles settle, it will normally be plastic.2
How to achieve a smooth wall step by step
The three usual methods
Depending on the type of textured coating and the state of the wall, there are three main paths to prepare it for painting:
- Wet scraping, only viable for water-based textured coating.
- Sanding the peaks with dust extraction, more common for plastic textured coating.
- Covering with thin layers of smoothing compound (filler) and subsequent sanding, the most used option when the textured coating is plastic or very well adhered.
Covering the wall with plasterboard sheets is a different, heavier job, intended for heavily damaged surfaces, and is not what is usually understood as removing textured coating.
After leaving the surface smooth
Once the texture has been removed or covered, it is time to inspect the wall before painting. Architect Damián Gil warns that "if the textured coating is not removed properly, shadows, cracks and a finish that never looks completely smooth can appear", hence the importance of checking the surface with raking light before applying primer. The next steps are: repair cracks and holes, apply primer and then paint coats. Ceilings follow the same process, although defects are more noticeable due to overhead light.
For those seeking a completely smooth and mark-free finish, it is also worth checking the application technique of the final paint, a topic covered in detail in this guide on interior painting without marks3.
What affects the price and how to request a quote
Factors that move the cost per m²
Recently consulted price guides place the removal of textured coating in Spain, as an indicative reference, around 8 - 15 €/m², although the final cost can be lower or considerably higher depending on the type of paint, wall condition, ceilings, smoothing and subsequent painting. These are only market references, never a fixed rate, and each home has its own particularities.
The elements that most influence the final price are:
- The type of textured coating (plastic usually costs more than water-based).
- The thickness of the layer and the number of layers accumulated over the years.
- The condition of the surface beneath the textured coating: cracks, chipping or moisture.
- Whether ceilings are included, which are usually quoted separately.
| Scope of work | What it includes |
|---|---|
| Removal or sanding only | Leave the wall without texture, without repairing imperfections |
| Removal + smoothing | Smooth surface ready, without final paint |
| Removal + smoothing + painting | Complete work, ready to live in |
This type of per-square-metre calculation is always indicative: two walls with the same surface area can hide very different cracks, moisture or paint layers beneath the textured coating. The final price can only be confirmed when a professional has seen the real state of the surface, either through photos and videos or a visit; both methods work equally well. Our platform always requests photos and videos of the walls before closing a quote, precisely to avoid surprises mid-work.
Before starting: what should be settled
Before hiring the work, it is worth clarifying some practical points:
- Decide which rooms and which surfaces (walls, ceilings or both) need the textured coating removed, as there is no need to treat it throughout the home if it only bothers in some areas.
- Protect floors, furniture and woodwork before starting, because both scraping and sanding generate a lot of dust.
- Be clear about whether a completely smooth finish is sought or whether it is enough to soften the texture before painting.
On the platform, textured coating removal can be requested as part of interior painting work, on the walls and ceilings the client chooses; it is not a mandatory step in each project, but an option within the agreed scope. All the details of the work (which surfaces are treated, with which technique and what the price includes) are recorded in writing on the platform, visible to both the client and the professional. Those wishing to delve deeper into this specific task can review the service of textured coating removal4, or that of wall smoothing5 if the aim is to leave the surface perfectly smooth before painting.
Payment, when the work is contracted through the platform, is organised in two parts: 50% at the start, to reserve the date and buy materials, and the remaining 50% at the end, once the result has been verified.
Frequently Asked Questions
Yes, it is perfectly possible to treat only the walls or ceilings that really bother, without intervening in the entire home. Many owners start with the lounge or bedrooms and leave the rest for later.
It depends on the method: wet scraping of water-based textured coating generates less dust, while sanding plastic textured coating is messier if dust extraction is not used. Protecting floors and furniture well before starting reduces discomfort considerably.
It depends on the type of textured coating and its condition. If it is plastic and well adhered, covering it with thin layers of smoothing compound is usually faster and cleaner than trying to remove it completely.
The process is the same, but defects are more noticeable because light falls differently. This is why it is worth checking the ceiling in various light conditions before approving the surface.
It is not necessary to do it the same day, but it is worth applying primer shortly after leaving the surface smooth, to protect the plaster or filler before it accumulates dust or ambient moisture.
Ready to paint?
Get free quotes from verified local painters in minutes. No commitment.
Sources
External sources open in a new tab.
- ¿Por qué triunfó el gotelé en España? - Disart Interiorismodisart.es
- Cómo tapar gotelé en paredes: qué opción conviene y cuándo hacerlo sin obrarevestimientospared.es
- Pintura interior sin marcas: técnica y preparación paso a pasomyfixio.es
- Eliminación de Gotelémyfixio.es
- Alisado de Paredesmyfixio.es