An interior painting job does not end when you close the paint can. The real challenge is achieving a uniform finish, without roller marks, differences in sheen, or areas with different tones. These problems often appear precisely when technical details that make the difference between acceptable work and truly professional work are overlooked.
Why roller marks and tone differences appear
Many finish problems arise from prior errors: poor surface preparation, incorrect paint choice, application in poor light, excess product, or insufficient drying times1. Roller marks, for example, usually result from loading too much paint in each pass or failing to respect the direction of application in successive layers.
Tone differences on the same wall have another frequent cause: applying the second coat before the first has completely dried. Applying the second coat too soon can cause streaks, marks, sheen differences, or loss of uniformity. Temperature, ventilation, and ambient humidity directly influence the actual drying time, which does not always match what the can indicates.
Another source of problems is roller choice. The roller must be selected based on the wall type and desired finish: for smooth walls, short or medium pile rollers work better, while textured or stippled surfaces require a roller with greater capacity. An unsuitable roller can leave excessive texture, visible marks, or areas with less coverage.
Controlling paint quantity and loading technique
One of the most obvious differences between amateur and professional work is the amount of paint loaded in each pass. Overloading the roller generates drips, buildup in corners, and irregular thickness that causes sheen differences when the paint dries.
The correct technique consists of loading the roller uniformly, removing excess in the tray before taking it to the wall, and applying thin layers instead of trying to cover everything with a single thick coat. Thin layers dry faster, adhere better, and allow much greater control of the final finish.
The direction of each pass also matters. On the first coat, the usual approach is to apply vertically or in a zigzag pattern; on the second, the direction changes (horizontal or crossed) to level the layer and prevent visible marks from remaining. This crossing of directions is one of the details that defines a professional finish.
Surface preparation: the step you cannot skip
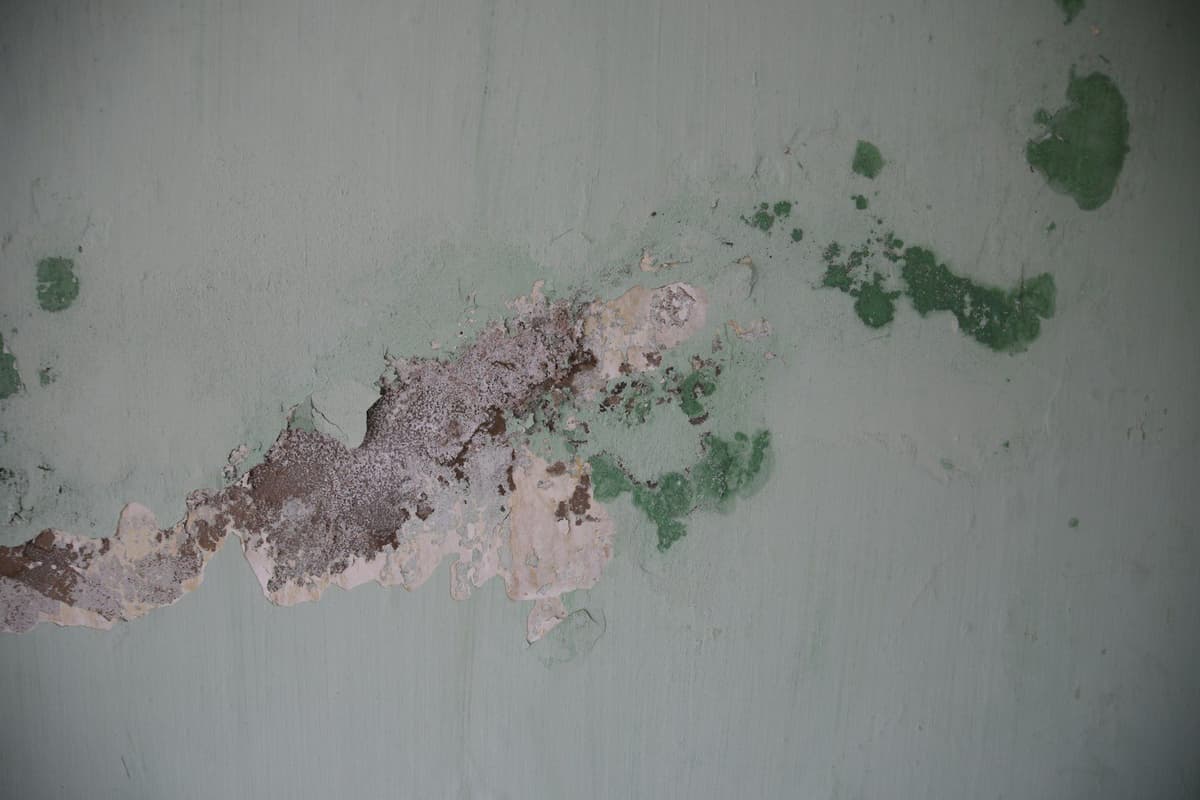
One of the most common errors is painting directly on the wall without checking for cracks, chips, moisture, dust, or stains. Any of these defects compromises paint adhesion and creates irregularities in the finish that no application technique can correct afterwards.
Preparation begins with thorough surface cleaning to remove dust, grease, or loose paint residue. Next, it is necessary to repair cracks with filler, sand the repaired areas until they are level with the rest of the wall, and apply primer if the surface requires it (especially when going from a dark color to a light one, or if the wall has previous moisture stains).
The application of glazes, paint combing, and drying time control are skills that only experience and ongoing training can provide. In homes in cities like Madrid, Barcelona, or Valencia, where historic buildings coexist with modern construction, surface preparation varies greatly depending on the wall type, plaster condition, and building age.
Modern finishes: matte, satin, and the importance of light
Current trends show a clear shift toward finishes that provide visual identity, avoiding uniform surfaces without character. Techniques such as mineral effects, soft metallic finishes, or paints with controlled relief are gaining prominence2. However, choosing a special finish without mastering the application technique can result in a visual disaster.
Matte finish, still the most in-demand in 2026, better conceals wall imperfections but shows any defect in application technique more clearly: roller marks, layer differences, or poorly covered areas. Satin, on the other hand, reflects more light and is easier to clean, but requires an impeccable surface because any irregularity shows.
The room's natural light also conditions the result. It is best to paint always with sufficient light (ideally natural) and review the finish from different angles, because marks and tone differences appear differently depending on light incidence. This detail is especially relevant in living rooms with large windows facing south, common in homes in Seville, Malaga, or Alicante.
When it is worth relying on a professional
Mastering application technique is not just a matter of patience, but of experience accumulated over dozens of jobs. A professional knows which tool to choose for each surface, how to adjust the technique based on the day's temperature and humidity, and how to detect preparation problems before they ruin the final finish.
When the painting work is part of a larger renovation or when seeking a high-quality finish3, hiring someone with demonstrable technical experience is usually the most cost-effective decision. A professional finish not only improves immediate appearance but also guarantees greater durability and easier maintenance in the years to come.
On our platform, professionals present their proposals after viewing the space through photos and videos or an on-site visit, which allows the technique and tool to be adjusted to the real characteristics of each wall. This level of detail, combined with correct application technique, is what transforms a painting job into a finish that truly deserves attention.

Ready to paint?
Get free quotes from verified local painters in minutes. No commitment.
Sources
External sources open in a new tab.
- Errores frecuentes al pintar paredes interiores y cómo evitarlos • Isavalisaval.es
- Tendencias en pintura decorativa: claves actuales para transformar los espacios del hogar – Infoblogblogs.upm.es
- Cómo hacer una estimación realista del presupuesto para pintar tu piso en España: la guía que necesitas antes de contratarmyfixio.es