Painting a flat may seem straightforward, but the difference between a mediocre result and a professional finish lies in the preparation. The preparation process accounts for 70% of success, and mastering the correct techniques for priming, sanding and filling is essential for the paint to adhere properly, look uniform and last longer.
Why preparation is more important than the paint itself
A high-quality finish is not achieved simply by applying paint over an old surface. The process begins with a thorough analysis of the substrate, correcting moisture issues, cracks and ensuring perfect flatness. In cities like Madrid, Barcelona or Valencia, where century-old flats coexist with modern constructions, the surfaces to be treated can vary enormously in condition and composition.
Skipping preparation steps is the most costly mistake you can make. A wall with unrepaired cracks, dust deposits or peeling old paint will eventually show all those defects beneath the new coat, no matter how good the paint chosen. Additionally, lack of priming can cause the paint to peel off within months, forcing you to redo all the work.
How to apply primer or sealer correctly (and when to use them)
Water-based acrylic primer sealer seals, fixes and evens out absorption on porous masonry surfaces.1 This preliminary step is especially important on new plaster, cement, surfaces stained with smoke or grease, or walls that have undergone filler repairs.
Primer serves several key functions: it creates a barrier that prevents the substrate from absorbing paint unevenly, improves the adhesion of the final coat and reduces total paint consumption by optimizing its coverage. On highly porous surfaces, such as untreated plaster common in many flats in Seville or Málaga, applying primer can reduce paint consumption by up to 30%.
To apply it, the surface must be clean, dry and dust-free. Application can be done with a roller, brush or spray gun. It may be marketed as ready-to-use or in concentrated format, in which case you need to dilute the sealer in water at the usual ratio of 1/3. Allow to dry completely (usually between 4 and 6 hours) before painting.
Sanding techniques for walls: grit, tools and correct movements
It is recommended to sand the wall before applying any paint, even on new plasterboard, as sanding will facilitate paint adhesion and remove excess material after repair work. Sanding is the technique that allows you to even out the texture, remove burrs and slightly open the pores of the surface so that primer and paint adhere better.
The sandpaper grit should be chosen based on the condition of the wall. Start with fairly abrasive grit - typically grit 80, though this can vary depending on each case and the wall condition. Once the major imperfections are levelled, move to medium grit (120-150) and finally to fine grit (180-220) to achieve a smooth surface to the touch.
Sand with circular movements, as a light circular motion is best for walls. Never use force or pressure on the sander, let the machine's weight do the work. After sanding it is essential to remove all dust with a soft brush and a well-wrung damp sponge before applying primer or paint.
In flats in Zaragoza, Bilbao or Murcia with old textured ceilings, mechanical sanding with a pole sander can be the quickest solution to remove the texture and leave the wall ready for a smooth, modern finish.
Professional filling: how to repair cracks and level surfaces before painting
Filling consists of applying levelling paste (known as aguaplast, acrylic filler or joint compound) to fill cracks, cover wall plug holes and correct unevenness. It is a step that requires patience and technique, because the quality of the filling determines the final flatness of the wall.
Apply at least two coats of filler with a metal spatula or trowel in thin layers to level the surface, always waiting for the first coat to dry before starting the second and working in long strokes following the same direction to avoid irregularities.2 Thick coats tend to crack when drying, so it is better to apply several thin coats.
Each coat should be lightly sanded once dry, smoothing the edges and levelling the surface with the rest of the wall. It is common for old flats in Alicante or Granada, with deteriorated plaster walls, to require three or even four coats of filler in the most damaged areas.
Once filling and sanding are complete, the wall should be completely smooth to the touch. At that point, it is time to apply primer sealer (if not done previously) and, after it dries, proceed with the final paint.
Common preparation mistakes and how to avoid them in your next project
One of the most frequent mistakes is applying paint over a surface that still has sanding dust. Even a thin layer of dust can prevent proper adhesion and result in a rough or orange-peel finish. Always wipe with a damp sponge and allow to dry well before painting.
Another common error is skipping primer on porous surfaces or freshly filled areas. When this step is omitted, the paint penetrates unevenly, leaving dull and shiny patches in different areas (especially visible with dark or intense colours) and forcing you to apply more coats than necessary.
It is also common to apply filler coats that are too thick with the intention of saving time. The result is usually the opposite: the filler takes much longer to dry, cracks and forces you to redo the work. It is better to invest time in applying thin, well-spread coats.
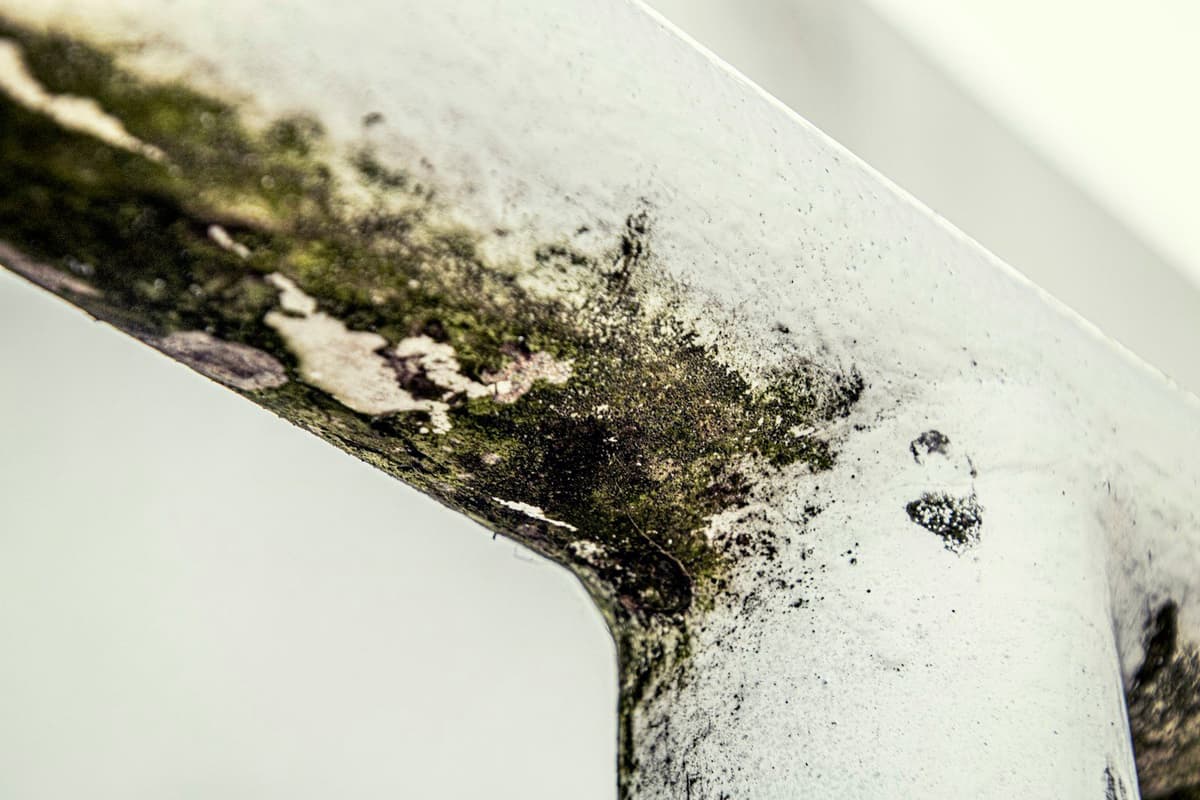
Finally, many owners try to paint directly over moisture or stains without treating them. No matter how much technical preparation is done, if the cause of the moisture (infiltration, condensation, rising damp) is not resolved first, the stain will reappear within weeks and the work will have been in vain.
Before hiring a professional or starting a painting project, it is worth checking that surfaces are truly prepared. On our platform we always ask for photos and videos of the walls before closing any quote, precisely so the painter can assess the real condition and propose appropriate preparation. A good professional will never tell you that they can paint directly over a wall in poor condition: they will explain which preparation techniques are necessary and why they make the difference between work that lasts and work that will need to be redone shortly.
Sources
External sources open in a new tab.
- Imprimación Selladora - Pinturas Arenaspinturasarenas.es
- Alisar paredes: El secreto para un acabado perfectoadampintores.es