Painting a room seems straightforward until you discover that the paint cracks, doesn't adhere properly, or reveals every wall imperfection. The difference between a professional finish and a mediocre one isn't just about paint quality or application technique, but something far less visible: the proper preparation of surfaces beforehand.
Why preparation is non-negotiable
The temptation to save time by skipping preparatory steps is strong, but the consequences appear sooner than expected. An unprepared wall can develop peeling, bubbles, or stains that bleed through the fresh paint layer, forcing you to redo the work in a short time.
Painting over a dirty surface creates adhesion problems that show up months later as flaking or bubbles, so walls must be cleaned with a mild degreaser and dried completely before continuing. In kitchens and areas near fireplaces, grease can prevent paint from adhering properly, even when it's not visible to the naked eye.
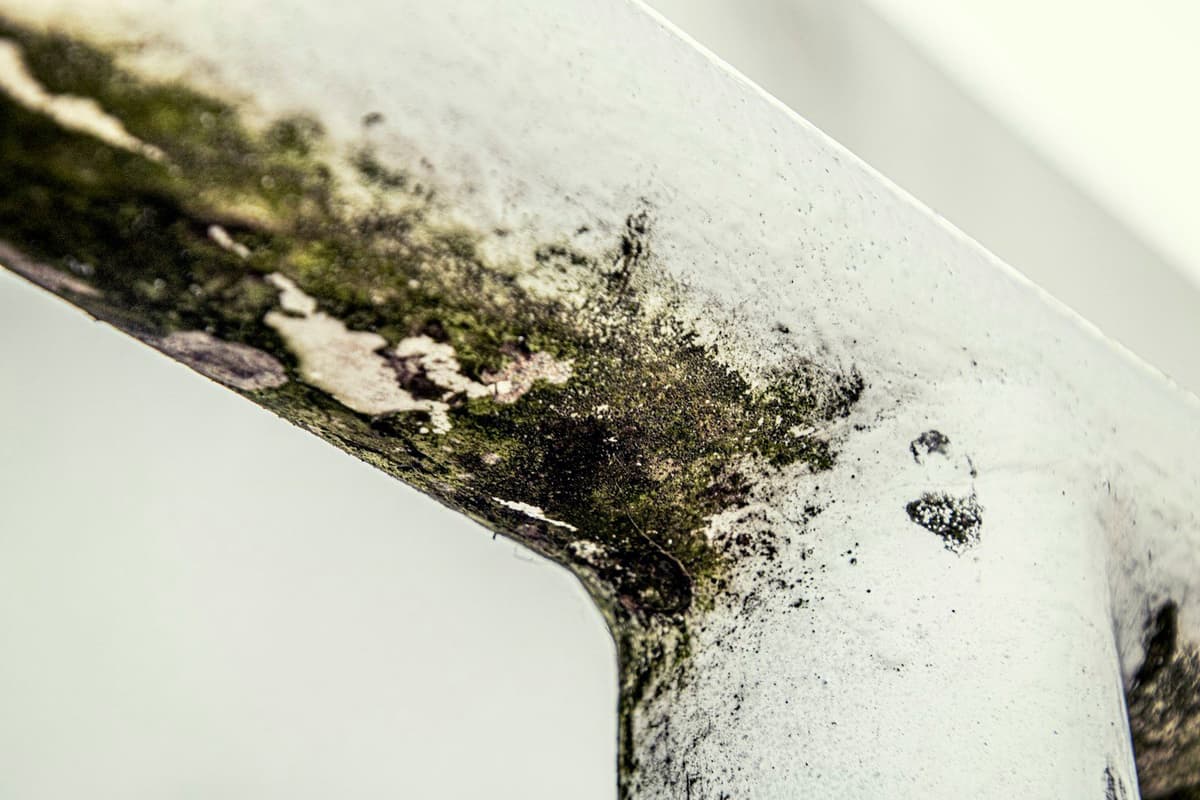
Proper preparation also prevents mold growth, especially in damp areas or those with poor ventilation, a common problem in many homes. Removing dirt, dust, and accumulated moisture before painting significantly reduces the risk of dark stains reappearing over time.
Repairing cracks, holes, and damage
It's rare to find a wall in perfect condition. Nail holes, furniture dents, small cracks, or scuffs are common, and all must be addressed before opening the paint can.
To repair these imperfections, the most practical approach is to use interior filler. Nail holes, marks from furniture impacts or door handles, and small cracks can be easily repaired with filler or plaster, always starting by cleaning the hole to remove loose dust or plaster residue. Apply the filler with a flexible putty knife, remove excess before it dries, and let it cure completely.
Once dry, comes sanding. This step is essential because it's when you check whether repairs were done properly. If defects appear, apply another layer of filler and sand again. Visible defects at this point won't be hidden under paint; quite the opposite, they'll often be more noticeable, especially if you use satin or glossy finishes that reflect light and highlight any irregularity.
Sanding and final cleaning: the detail that makes the difference
Sanding doesn't just smooth repairs. It's also necessary when repainting over previous paint layers, as it creates a surface suitable for new paint to adhere properly. Use medium-grit sandpaper to smooth irregularities, always with circular motions and without pressing too hard to avoid damaging the wall.
After sanding, fine dust covers the entire surface, and that dust is the invisible enemy of a good finish. Before applying the first coat of paint, wipe the wall with a dry or slightly damp cloth to remove any trace. This step is as important as sanding itself: dust trapped under the paint will create a rough, uneven finish.
If your walls have stubborn stains (moisture, smoke, marker marks), apply a primer or sealer before painting. This prevents stains from bleeding through the new paint layer, something that can happen even after several coats.
Common mistakes that compromise results
One of the most frequent failures is not letting repairs dry completely before sanding or painting. Wet filler doesn't sand well and can crack as it dries under the paint. Always respect the drying times indicated by the manufacturer, even if they seem excessive.
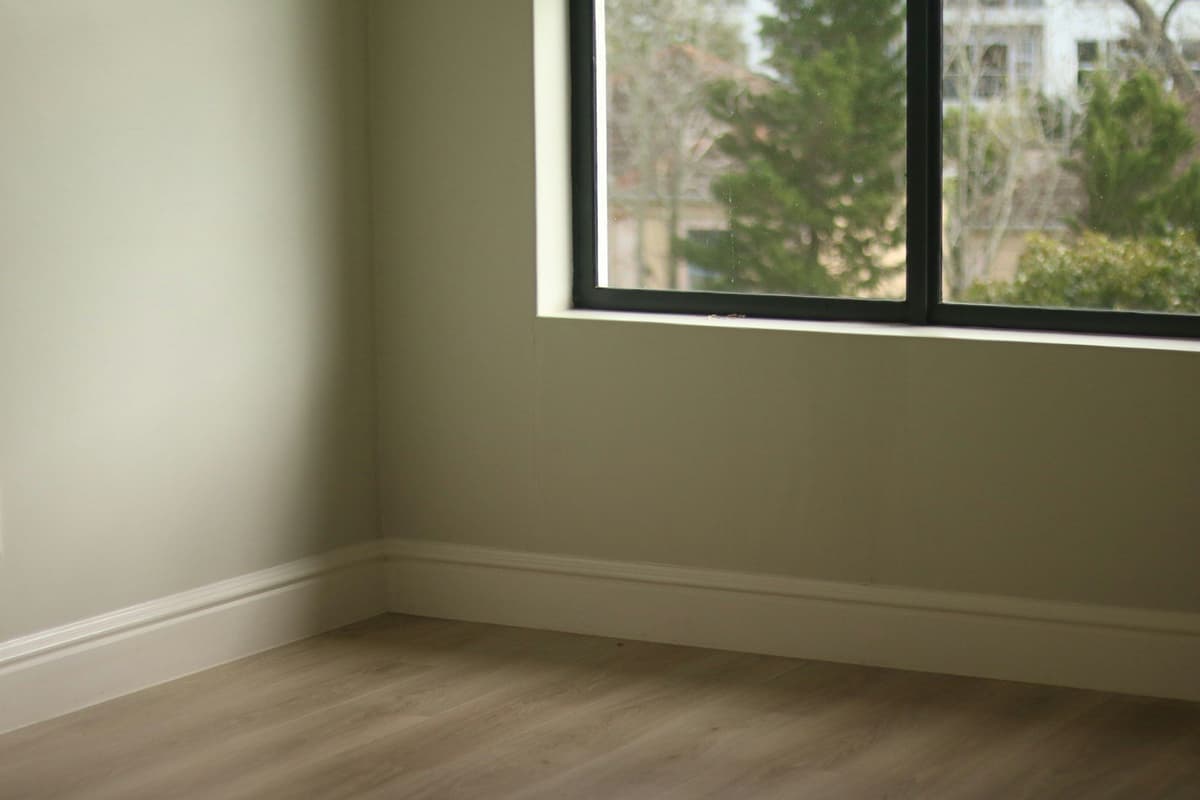
Another common mistake is failing to properly protect baseboards, door and window frames, and outlets. Painter's tape must be applied precisely and pressed firmly along the edges to prevent seepage. Also protect the floor with plastic sheets or tarps that won't let paint through.
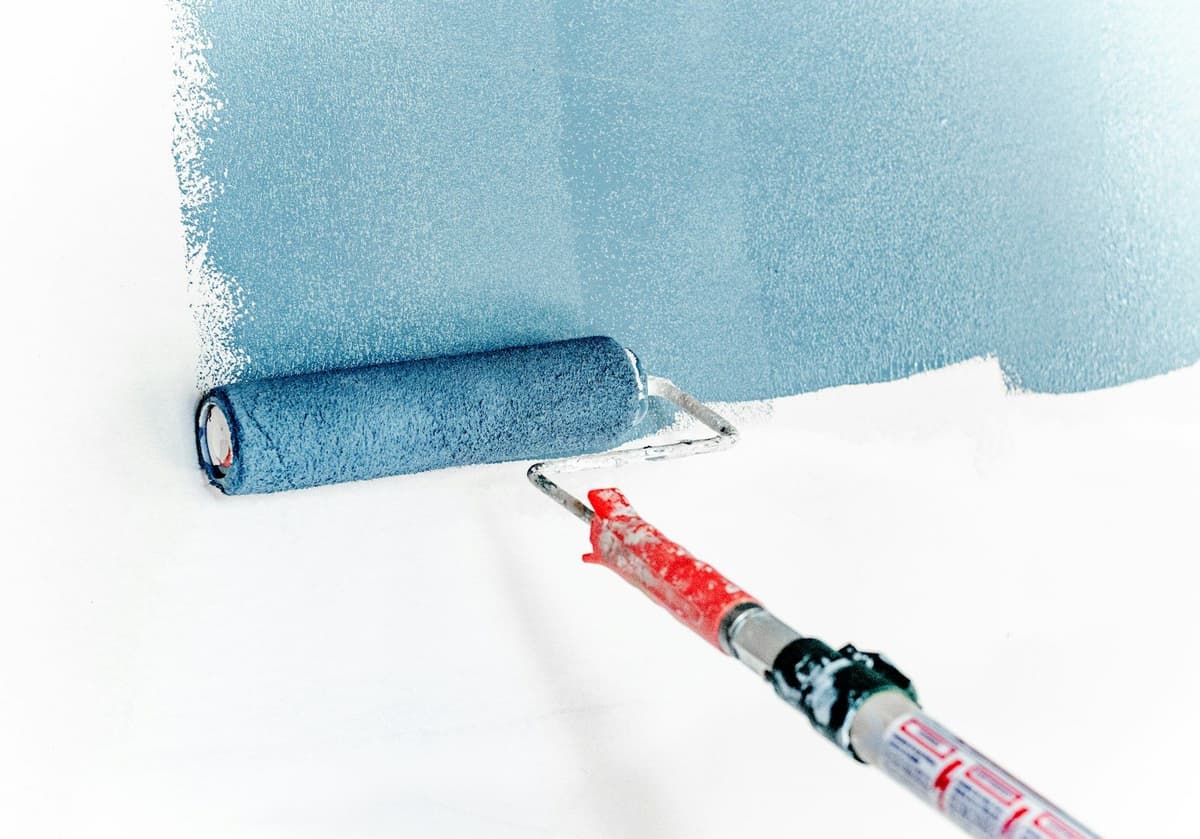
Finally, many people underestimate the importance of using quality tools. A cheap roller can shed fibers that stick to the wall, and a poor-quality brush leaves visible marks in corners. Invest in proper tools: the result speaks for itself.
How to proceed if you need professional help
If after reading these steps you prefer to delegate the work, keep in mind that a good painter spends as much or more time on preparation than on paint application. When requesting quotes, make sure the professional explicitly includes surface preparation: cleaning, damage repair, sanding, and if necessary, primer application.
On our platform, we always request photos and videos of surfaces before finalizing any quote. This allows the painter to accurately assess the actual condition of the walls and adjust the price accordingly, avoiding surprises mid-project. Additionally, we verify that all professionals are properly registered as self-employed or have a established company before presenting them as an option.
As for payment, the model is straightforward: 50% upfront (to reserve the date and purchase materials) and 50% upon completion, once work is verified. This way you have peace of mind knowing you pay the full amount only when the result meets what was agreed.
Preparing walls properly isn't the most visible part of the process, but it's what ensures your investment in paint lasts years instead of months. Give these preparatory steps the time they deserve and the final result will speak for itself.

Ready to paint?
Get free quotes from verified local painters in minutes. No commitment.