Painting the interior of a home seems straightforward until the roller leaves marks, the paint doesn't cover well, or cracks appear that no one had noticed before starting. The difference between a professional finish and a DIY one doesn't lie so much in the paint brand as in the prior preparation and the order of the steps. This guide covers the essentials so the result lasts, from the real condition of the walls to the technical trick that avoids the dreaded roller stripes.
Preparing surfaces before picking up the roller
Checking the real condition of walls and ceilings
Before opening a tin of paint, it's worth inspecting the surface with raking light (a torch or lamp placed at an angle) to detect fine cracks, chips or areas where the plaster has degraded. In older homes in Madrid, Barcelona or Valencia, it's common to find several layers of paint built up that are worth sanding or cleaning before applying anything new. If there are damp stains, the source of the problem must be resolved first; this blog already explains how to identify the source of damp before painting1.
The case of gotelé in older flats
Many Spanish homes built between the 1960s and 1980s still have gotelé (sprayed textured coating) on walls and ceilings, a texture that once served to hide construction imperfections with little skilled labour. Although this technique is now rejected, gotelé still persists in thousands of homes, partly because removing it has real cost and difficulty. Before deciding how to treat it, it's worth knowing what type it is:
- Gotelé al temple: softens with water and can be scraped relatively easily.
- Gotelé plástico: repels water, so wetting and scraping doesn't work; it has to be sanded or covered with smoothing compound.
A simple test with a damp cloth on an inconspicuous area will quickly show which of the two you're dealing with. If the gotelé is in good condition and only bothers aesthetically, covering it with smoothing compound and sanding is usually faster than scraping it all off; lining the wall with plasterboard is a separate, heavier job intended for heavily damaged surfaces and is not the usual way to solve gotelé.
Application technique: brush, roller and work sequence
The wet edge trick
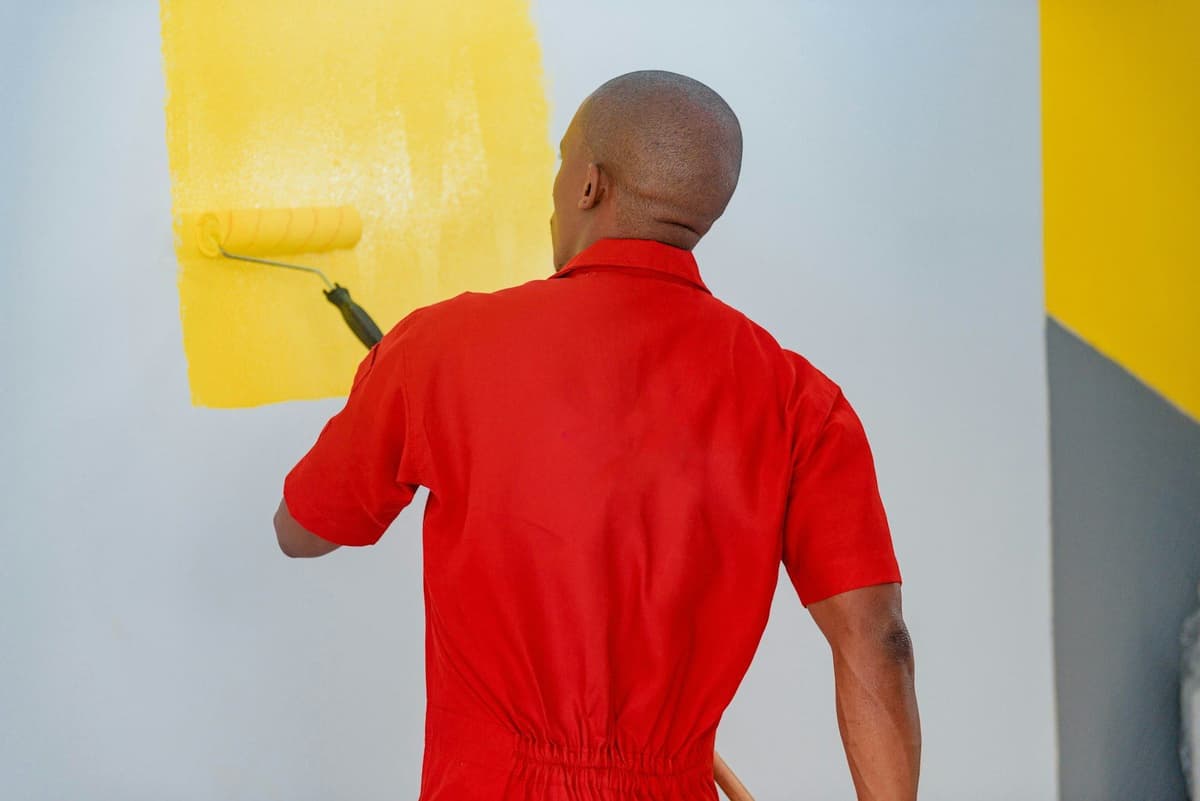
The most common mistake when painting with a roller is allowing one stripe to dry before joining the next one, which leaves visible marks. The solution is called maintaining a wet edge: paint in vertical stripes of just under one metre wide, from ceiling to skirting board, overlapping each new stripe onto the previous one while it's still wet. The window for joining one stripe to the next is measured in minutes, not hours, so it's worth working decisively and without long interruptions.
Steps for a finish without marks
- Cut in first the edges, corners and areas near sockets with a brush.
- Load the roller by dipping it only halfway into the paint and removing excess on the grid of the tray.
- Apply in a W or M shape over an area of about one square metre, without lifting the roller.
- Fill in the gaps with long, uniform strokes, without pressing the roller against the wall.
- Make a final dry pass, without paint, to even out the finish.
Tools according to surface type
Not all rollers suit all walls. On smooth or plasterboard surfaces, use a short-pile roller; a long-pile one on a smooth wall can leave an unwanted rough texture. For ceilings, always work in parallel stripes in the same direction to avoid visible jumps in natural light.
| Surface type | Recommended roller | Note |
|---|---|---|
| Smooth wall or plasterboard | Short pile / microfibre | Avoids orange peel effect |
| Textured wall or residual gotelé | Medium or long pile | More paint load per pass |
| Ceilings | Medium pile, with extension pole | Work in parallel stripes |
| Corners and mouldings | Brush | Cut in before using roller |
Work sequence in a complete home
From ceilings to walls, and from interior outward in each room
In an interior renovation the order matters: first ceilings, then walls and finally joinery or skirting boards, so any splashes are covered by the next coat. Within each room it's best to start with the least visible wall and end with the one that receives the most light, where technique defects are most noticeable. If gotelé is also being treated, that work is done before priming and painting, never at the same time.
Protection and drying times
Protecting floors, furniture and door frames with film or paper before starting saves cleaning time afterwards. Matt paint dries to the touch in about 30 minutes at 20 degrees, but that doesn't mean you can apply the second coat straight away; it's worth respecting the time indicated by the manufacturer between coats to prevent the paint from lifting.
Those who prefer to hire a professional can use the interior painting2 service or, if the walls have gotelé to remove before painting, the specific gotelé removal3 service.
What to do before requesting a quote
Before contacting a professional, it's worth being clear about which surfaces are to be painted, whether there is gotelé or other textures to treat, and if there are areas with damp or visible cracks. A quote calculated per m² is always indicative: two walls with the same surface area can be in very different condition underneath, with cracks or degraded plaster that only show up close. The final price can only be confirmed after the professional has seen the real surface, whether through photos and videos or a site visit; both ways work equally well. On our platform, photos and videos of the surfaces are always requested before finalising a quote, precisely to avoid surprises mid-job.
As for the cost of removing gotelé, market references consulted place the indicative price for removal at between 8 and 15 €/m² of wall for the scraping alone, and can rise if full smoothing and final painting are included; these are reference figures, not a fixed rate, and vary according to the type of gotelé, its thickness and the condition of the substrate. Once the scope of work is agreed, on our platform all details remain online, so the client, the professional and the platform can see the agreed scope in writing.
Frequently Asked Questions
The usual practice is two coats when changing from light to light colour, and up to three if going from a dark colour to a light one or if the surface is very absorbent. Respecting the drying time between coats indicated by the manufacturer prevents the paint from cracking or losing uniformity.
Yes, if the gotelé is in good condition and you're not looking for a completely smooth wall, you can paint directly over it with a long-pile roller. If you want a smooth finish, it needs to be treated first, either by scraping, sanding or covering with smoothing compound.
It depends on the smoothing product and the thickness applied, but it usually requires at least 24 hours of drying before sanding and applying primer. In damp environments or with poor ventilation this time can be longer.
If they are surface cracks from normal plaster movement, they can be repaired with filler and the area repainted. If the cracks are deep or reappear frequently, it's worth checking whether there's an underlying structural or damp problem before repainting.
Yes, primer uniformises surface absorption and improves adhesion and the performance of the final paint. Skipping this step usually results in patches of different sheen or the final paint not covering evenly.
Ready to paint?
Get free quotes from verified local painters in minutes. No commitment.
Sources
External sources open in a new tab.
- Cómo identificar el origen de la humedad antes de pintar tu viviendamyfixio.es
- Pintura Interiormyfixio.es
- Eliminación de Gotelémyfixio.es